
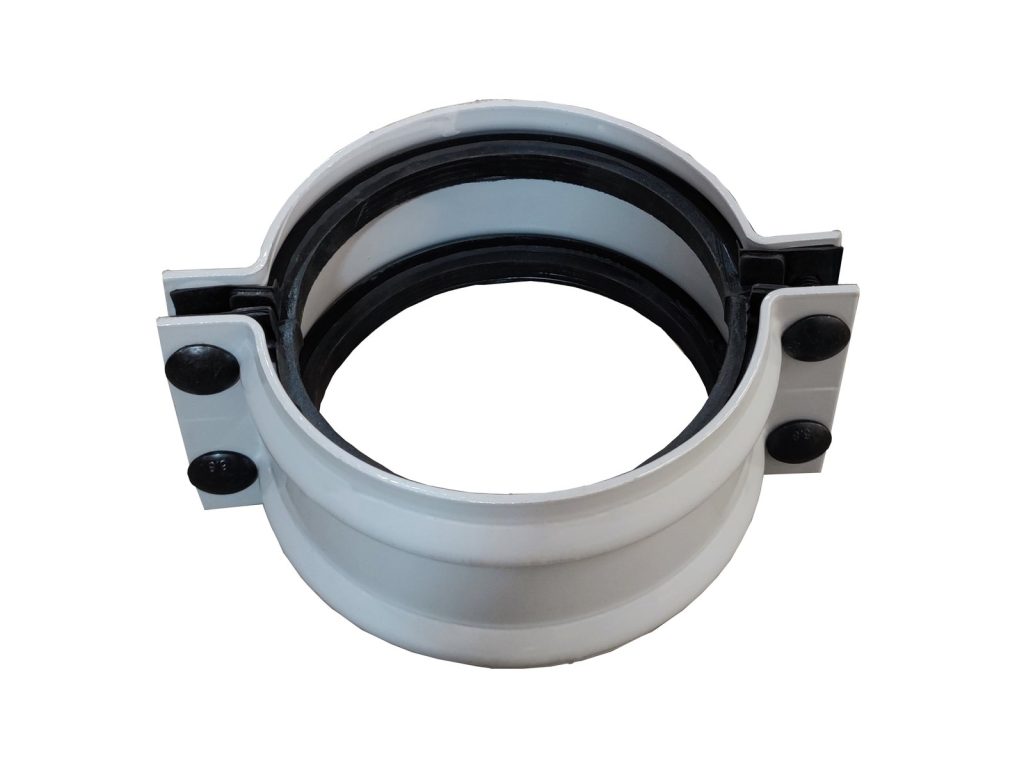
Pipe Repair Clamp Installation Guide: Step by Step
A repair clamp installs in minutes and can be fitted on a live line, but “minutes” assumes you do it right. Surface prep, positioning and bolt tightening all affect whether the repair is permanent or leaks again in a week. Here is the procedure our engineers follow.
Before you start
- Confirm the pipe material and OD, and that the clamp size and pressure rating are correct for the line.
- If possible, reduce line pressure before fitting — most standard clamps seal best at or below their rated pressure.
- Wear appropriate PPE (gloves, eye protection).
- For hazardous media, drain and isolate the section first.
Tools
You need: a wire brush or grinder, clean rags, a torque wrench or ratchet with the correct socket for the clamp bolts, and optionally a small amount of lubricant for the bolts.
1. Clean the pipe surface
Remove loose scale, rust, paint, mud and debris from the area the clamp will cover — a band roughly as wide as the clamp plus a little extra. The gasket must seat on a clean surface to seal. For metal pipe, a wire brush or grinder works well; for plastic pipe, clean gently with a rag to avoid scoring the surface.
2. Position the clamp
Open the clamp and place it around the pipe so the leak is centred under the rubber gasket. The gasket should sit evenly on both sides of the damaged area. If the clamp has a two-piece gasket, make sure both halves seat correctly against the pipe before tightening.
3. Fit and align the bolts
Insert the bolts and bring the halves together by hand until snug. Check that the clamp is square to the pipe and the gasket has not shifted. A clamp that is crooked when it goes on will pull crooked when it is tightened.
4. Tighten in sequence
With two or more bolts, tighten them alternately — a little on the first, a little on the second, then back to the first — so the clamp closes evenly. On a four-bolt clamp, work across in a diagonal pattern. Tighten until the gasket is fully compressed and no gap remains between the clamp halves. If a torque value is specified (typically for Grade 8.8 bolts), tighten to that specification.
5. Reinspect
Check the whole circumference for gaps and confirm the bolts are still snug after the clamp has been in service for a short period — seals can relax slightly as they bed in. Monitor the repair for the first hours after reinstating full pressure.
Fitting on a live line
Live fitting is the main advantage of a repair clamp — no welding, no shutdown. Work from the top or side of the pipe where the water column is lowest, clean a small band at a time, and have a drip tray ready. The clamp seals progressively as you tighten, so leaks reduce as the bolts close.
When not to use a clamp
If the pipe wall is structurally corroded across a long section, the pipe is cracked around more than half its circumference, or the joint is badly out of round, replace the section instead of clamping. A clamp repairs a localised leak — it does not restore structural strength.